le0n’s blog 博客友链界面添加过程
创建模板
cactus本身是没有友链界面的,直接编辑html比较麻烦,如果能像_config.yml一样直接这样配置当然是最方便的

而这只需要编辑cactus的模板文件,模板内容是ai生成的(不太会写
1
2
3
4
5
|
<article class="post" itemscope itemtype="http://schema.org/BlogPosting">
<%- partial('_partial/flinks') %>
</div>
</article>
|
1
2
3
4
5
6
7
8
9
10
11
12
13
14
15
16
17
18
19
20
21
22
23
24
25
26
27
28
29
30
31
32
33
34
35
36
37
38
39
40
41
42
43
44
45
46
47
48
49
50
51
52
53
54
55
56
57
58
59
60
61
62
63
64
65
66
67
68
69
70
71
72
73
74
75
76
77
78
79
80
81
82
83
84
85
86
87
88
89
90
91
92
93
94
95
96
97
|
<!-- 友情链接模板 flinks.ejs -->
<% if (site.data.links) { %>
<div class="flinks-container">
<div class="flinks-grid">
<% site.data.links.forEach(function(link) { %>
<div class="flink-item">
<a
href="<%= link.url %>"
target="_blank"
rel="noopener nofollow"
class="flink-link"
>
<% if (link.avatar) { %>
<img
src="<%= link.avatar %>"
alt="<%= link.name %>"
class="flink-avatar"
onerror="this.style.display='none'"
>
<% } %>
<div class="flink-info">
<span class="flink-name"><%= link.name %></span>
<% if (link.desc) { %>
<p class="flink-desc"><%= link.desc %></p>
<% } %>
</div>
</a>
</div>
<% }) %>
</div>
</div>
<style>
.flinks-container {
max-width: 1200px;
margin: 2rem auto;
padding: 0 1rem;
}
.flinks-grid {
display: grid;
grid-template-columns: repeat(auto-fill, minmax(300px, 1fr));
gap: 1.5rem;
}
.flink-item {
background: var(--card-bg-color);
border-radius: 12px;
padding: 1rem;
transition: transform 0.2s;
box-shadow: 0 2px 8px rgba(0,0,0,0.1);
}
.flink-item:hover {
transform: translateY(-3px);
}
.flink-link {
display: flex;
align-items: center;
text-decoration: none;
color: inherit;
}
.flink-avatar {
width: 50px;
height: 50px;
border-radius: 50%;
margin-right: 1rem;
object-fit: cover;
}
.flink-name {
font-weight: 600;
font-size: 1.1rem;
margin-bottom: 0.3rem;
display: block;
}
.flink-desc {
margin: 0;
font-size: 0.9rem;
color: var(--text-secondary-color);
line-height: 1.4;
}
@media (max-width: 768px) {
.flinks-grid {
grid-template-columns: 1fr;
}
}
</style>
<% } else { %>
<p>暂无友链数据,请在 source/_data/links.yml 中添加你的友情链接</p>
<% } %>
|
然后怎么在每次修改后把模板加载成页面呢?网上看了许多办法,但是麻烦然后又没成功
1
2
3
4
5
6
7
8
9
10
11
12
13
|
hexo.extend.generator.register('friends', function (locals) {
return {
path: 'friends.html',
data: locals.posts,
layout: 'friends'
}
})
|
创建自动更新js
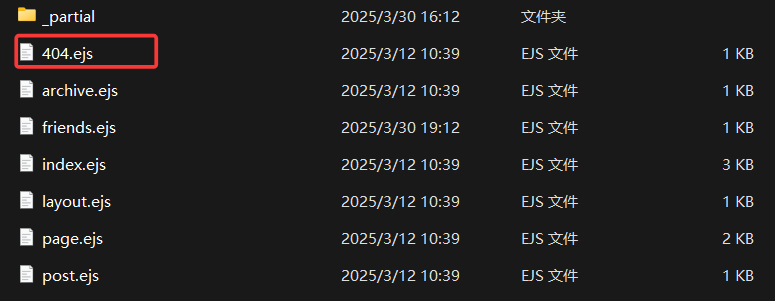
然后我注意到cactus有个404模板会被渲染出来变成404.html,这和我们创建friends.html的做法肯定是差不多的
具体怎么做呢?突然也是想起自己是web手了,把整个博客源码拖进了webstorm,按两下shift搜404
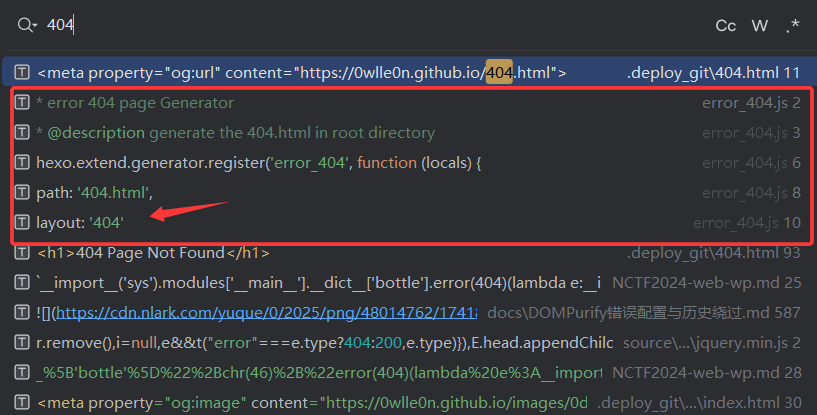
发现error_404.js使用了这个模板,看源码是调用了hexo生成一个页面,而原来\themes\cactus\scripts中的js都是会在生成时自动执行的
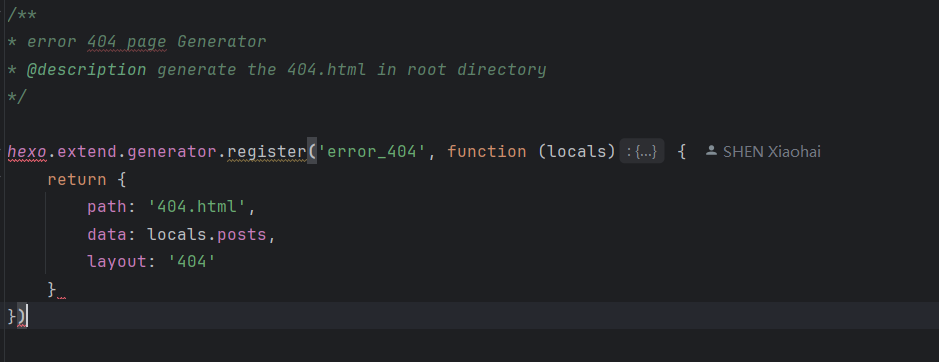
所以我们仿造这个写一个friends.js
1
2
3
4
5
6
7
8
9
10
11
12
13
|
hexo.extend.generator.register('friends', function (locals) {
return {
path: 'friends.html',
data: locals.posts,
layout: 'friends'
}
})
|
然后在\source\_data下创建links.yml
1
2
3
4
| - name: ENOCH
url: https:
avatar: https:
desc: 好想变强。。。
|
